I’ve been thinking recently about how I’d like to decorate my room in University. University accommodation always has that distinct combined feel of a cheap hotel room -- and the broad who’s been using it to, er, ‘entertain’. A lot of stories and history can be whispered from the tired, cracked plaster, from the green or red nylon carpet which never was in style or the creaking mattress, from the grooved table and the dust behind the dresser. After all, dust is mainly human skin. They’re stories you don’t necessarily want to dwell on for too long – especially when it comes to the bed – but definitely ones you want to augment and add to.
The sad thing is, Universities aren’t too keen on you leaving a permanent mark, so you must resort to temporary ways of making that space your own, of marking it out as separate to all those who had previous claim. You don't want to feel like you’re visiting someone else’s room while they’re on holiday. This has to be your home, your sanctuary; your love nest and your library.
One of the things which I thought would be a great addition to make the space personal is something to put on the wall – and I’m not thinking the traditional ones (Keep Calm and Carry On, a band poster etc.), though I’ll be sure to have some of those as well. No, my thought was handmade art. I’ve got a couple of pieces from friends, but even though I’m not a very gifted artist i really wanted to make something for myself.
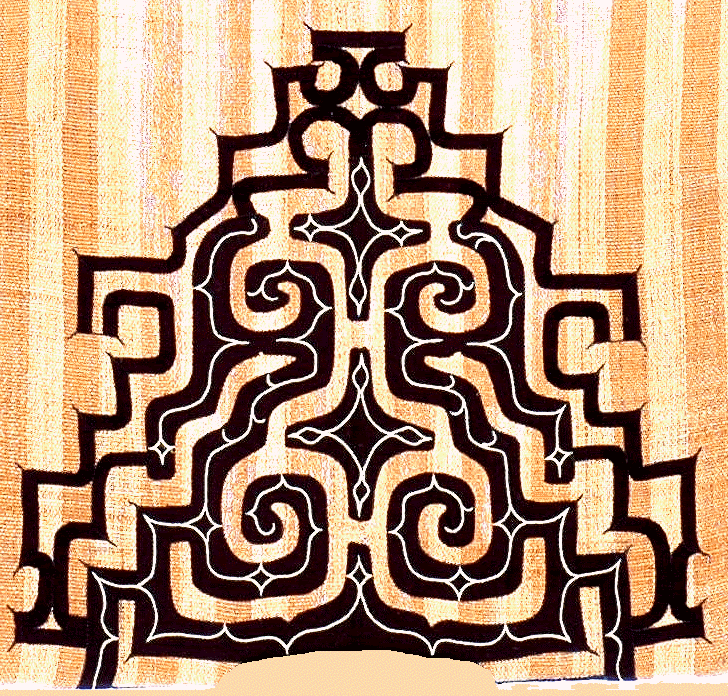
After a little thought, I decided on an Ainu clothing pattern. I love old, or folk patterns – the geometric shapes are beautiful, and whenever I go to a museum I am drawn to the Native American and First Nation ceramics and textiles first. The Ainu are the people indigenous to the northernmost island of Japan, Hokkaido, and have vaguely interested me for a long time. So when I came across this attus, I thought I’d give it a go.

My first step was to adapt it to a design I’d like. I cropped it, flipped it, and upped the contrast to make copying easier.

The next step was to overlay it on a grid, and then I began the painstaking process of copying out every line, which took several hours, and which I didn’t photograph.
After that was done, I copied it out again onto bigger grid paper. I also coloured it in, though that was more for fun than anything else, and they’re not the colours I’ll be using in the end. If you look at the initial designs, you can see the swirly lines on the design, which I haven’t yet added. Those will be in red, the main body of the design in burnished orange, and the background in a warm teal. I hope I can paint it onto a little canvas, but I’ve not painted with acrylics since I was 14, so I may have to ask some friends for help.

As you might be able to tell, I’ve tinkered with the initial design a little (added two swirls on the bottom, and a few cutouts), but it’s still largely the same. If and when the project ever completes, I’ll be happy to share it with you!

No comments:
Post a Comment
Any comments?